A step-by-step tutorial on how to install the Procreate brushes you downloaded from this site and make them ready for use.
Procreate brushes is the one of the most useful tools you can add to your Procreate library. They help you achieve textures and patterns that you wouldn’t normally be able to achieve digitally, and they take your art to the next level. The textures and options have no limits. They range from crayons to pencils to inks or even fabric and wood! This is why we decided to show you step by step how to download Procreate brushes from our website and have them ready for use!
Table Of Contents:
- Contents Of a Brush set.
- Downloading The Brush Set.
- Unzipping The Brush Set
- Testing It Out!
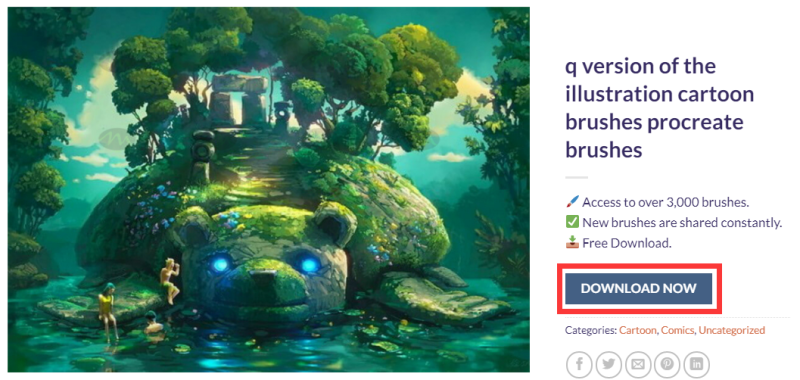
Select the Procreate brush you like and click “DOWNLOAD NOW”. Then you can launch the download in the upper right corner of “Safari”.
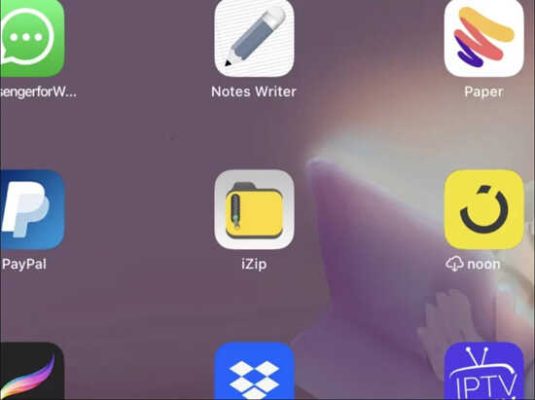
As you can tell the downloaded file is in zip format. This means that the files are compressed in order for them to download quicker and not take up much space. However, in order to use the brushes we need to unzip the files, so we would download an application to do it for us! We would head over to the “App Store” search for “Zip”. Tons of apps will show up! You just need to choose one. We went for this one right here “iZip”!
We will then go back to our “Safari” window to access our download by just tapping on it once it finishes downloading. You can also access the download through “My files”.

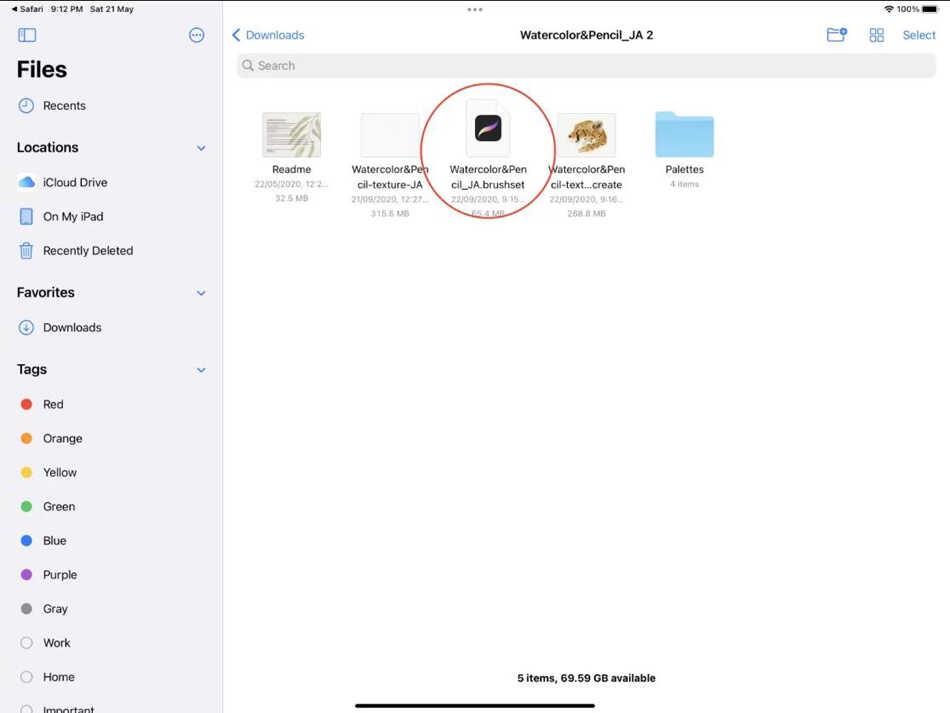
And here is our download in “My Files”. We need to tap again on it to decompress it. and there it is right next to the zipped file.

Don’t you just want to check that folder out and see what it has?! Let’s do it! well, it has an instruction sheet that tells you how to access the brushes, it also has the paper texture, the brushes, the color palettes and a drawing made with the brushes that you can access in procreate. How cool is that?!

Next step would be to simply open the the brush set by tapping on it. It will then take you to procreate to check the brushes out. You should find them on the very top of your brush library. And we would do exactly the same thing to access the color palettes, just tap on them and they will open up in procreate.
We would like to try everything that is included in the set, so we are just going to insert the watercolor paper texture, by doing split screen, then dragging and dropping the paper texture.
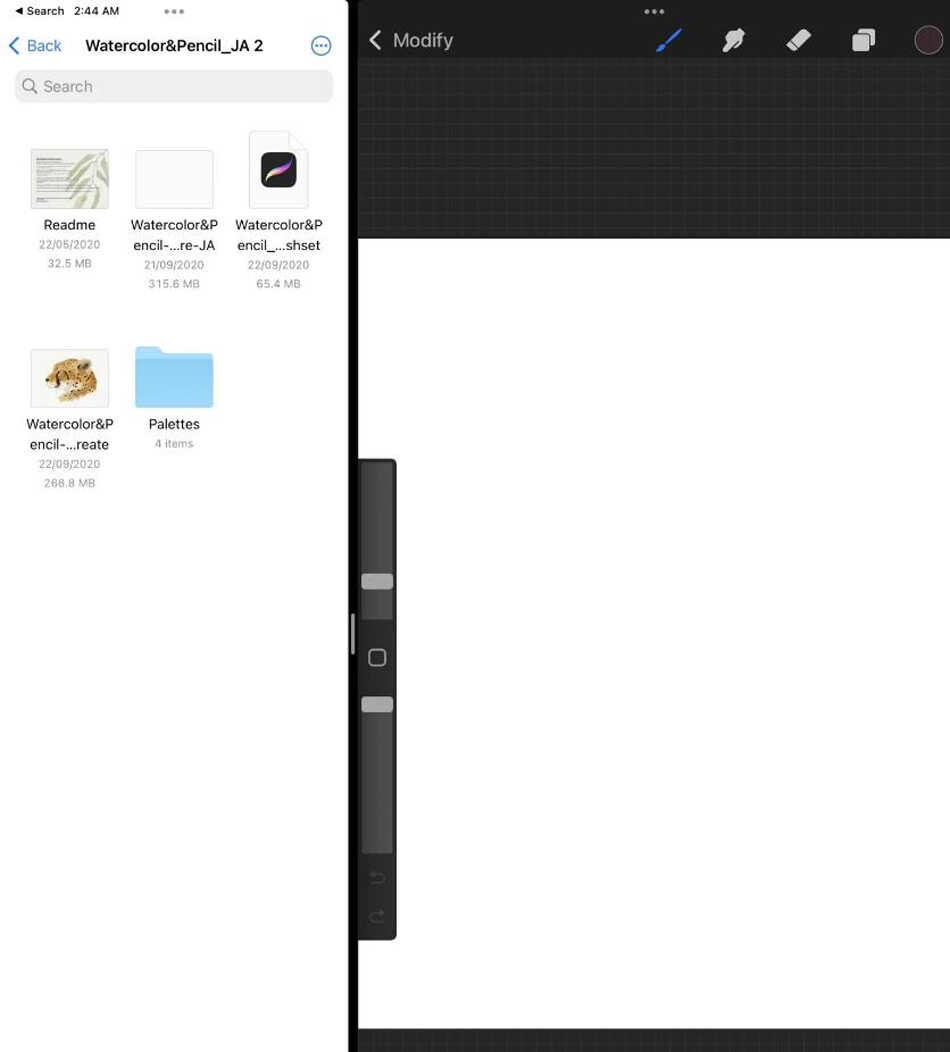
This is how it looks like!

We are then going to choose a big sized watercolor brush and just do some random coloring on a new layer to test it out.
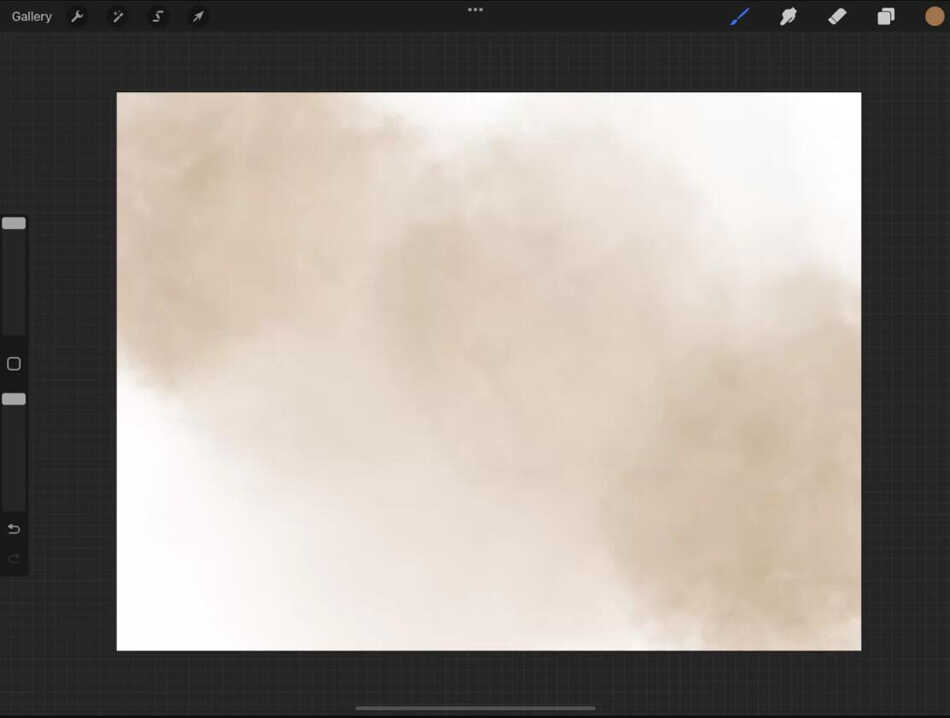
The next step would be to add some watercolor lettering with a smaller brush. And look at that! It almost looks like real watercolors!
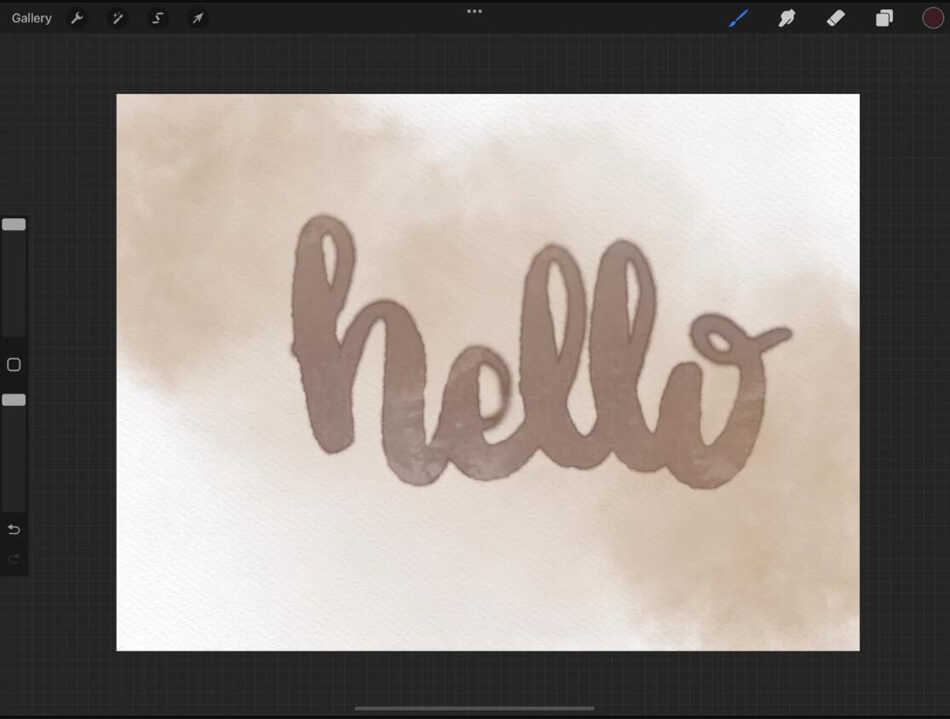
This marks the end of our step-by-step tutorial on how to download fertility brushes from this site! We hope you find it very useful and continue to create!
And if you are a Procreate brush lover, feel free to check our collection of more than 3000 brushes that can help you on your way to becoming an excellent artist.
